How to add text-to-speech to your TikTok Live
A step-by-step guide to reading your TikTok Live chat out loud, from a free browser voice to a different AI voice for every viewer.
 BoTik Team4 min readUpdated August 29, 2026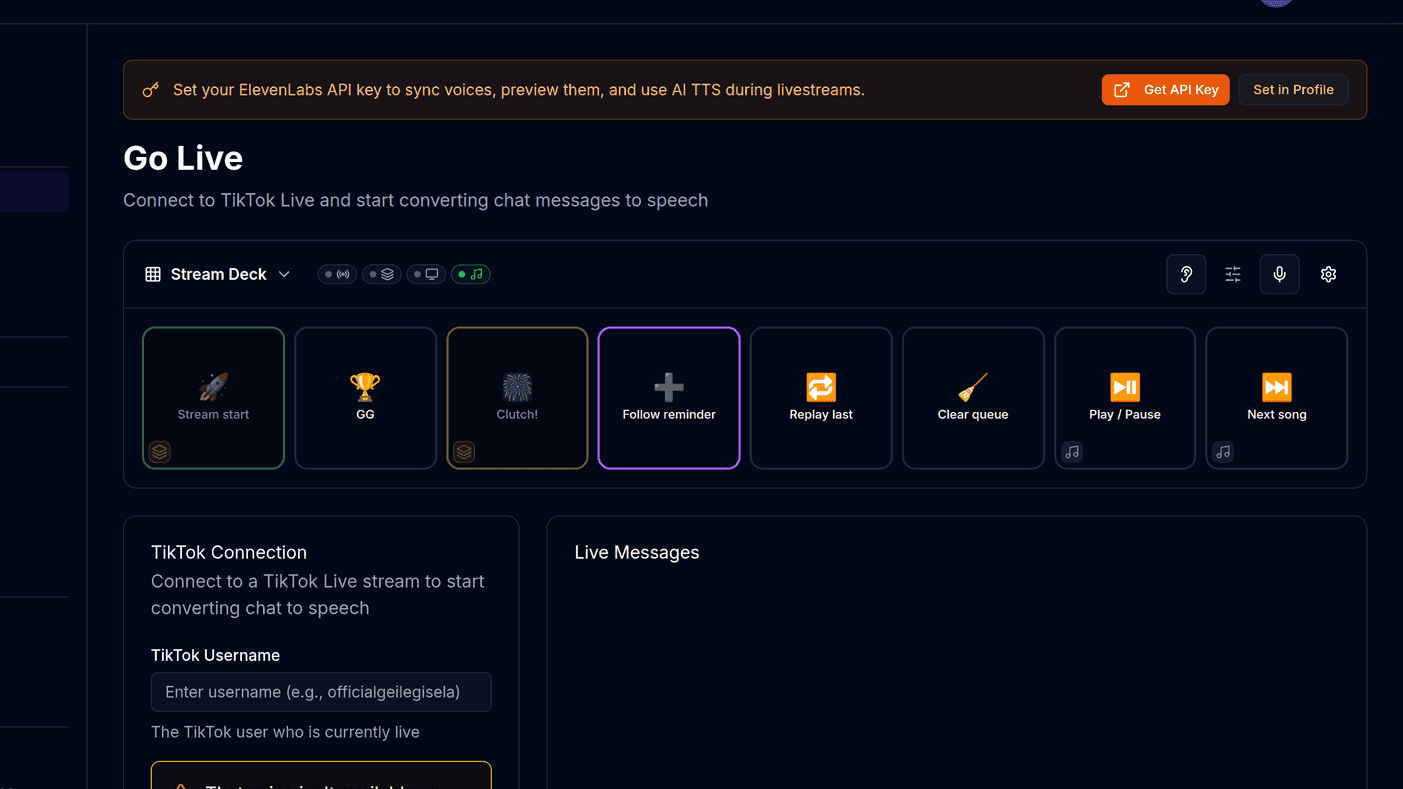
Reading chat out loud solves a specific problem: while you are talking, gaming or crafting on camera, you cannot also be reading a fast-scrolling comment feed. Text-to-speech turns those comments into something you can react to without looking away from what you are doing.
This guide covers what you need, how to set it up in about ten minutes, and the settings that matter most once messages actually start flowing.
What you need before you start
- A TikTok account that can go live.
- Chrome or Edge — they expose the widest selection of built-in voices.
- Speakers or headphones your stream can pick up, or a virtual audio device if you route audio through OBS.
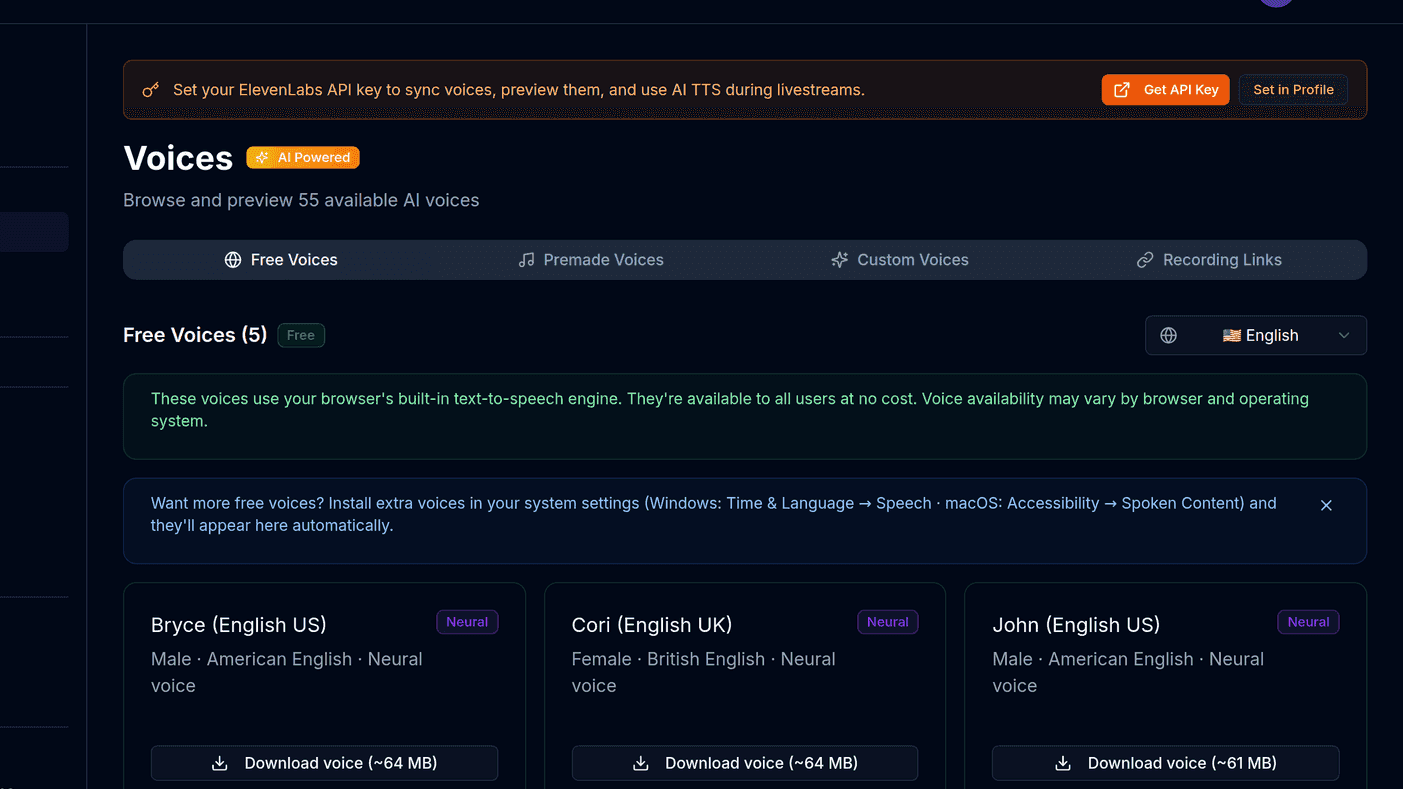
You do not need a paid AI voice provider to begin. Every modern browser ships a speech engine with dozens of voices, and that is enough to find out whether TTS fits your stream at all before spending anything.
Tip
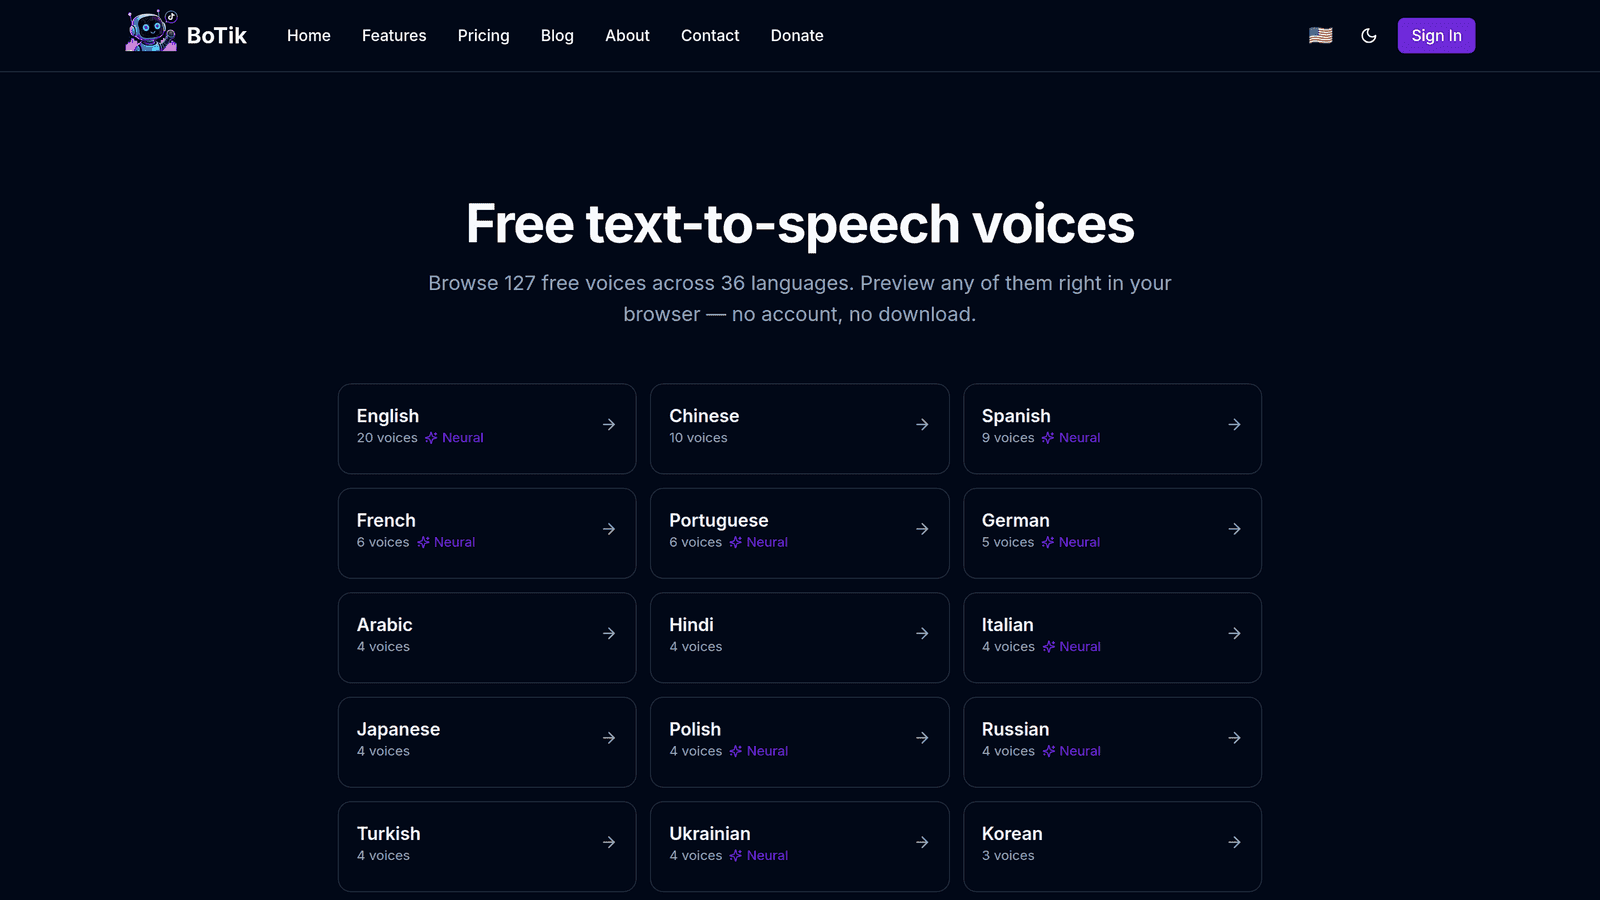
Want to hear it before signing up for anything? The free voice generator runs entirely in your browser — type a sentence, pick a voice, hear exactly what chat will sound like.
Setting it up
Create a BoTik account and connect your TikTok username.
This is the username you stream from, without the
@.Pick a default voice.
Preview a few and choose one that cuts through your background audio. Deeper voices tend to get lost under music — that is the most common first-choice mistake.
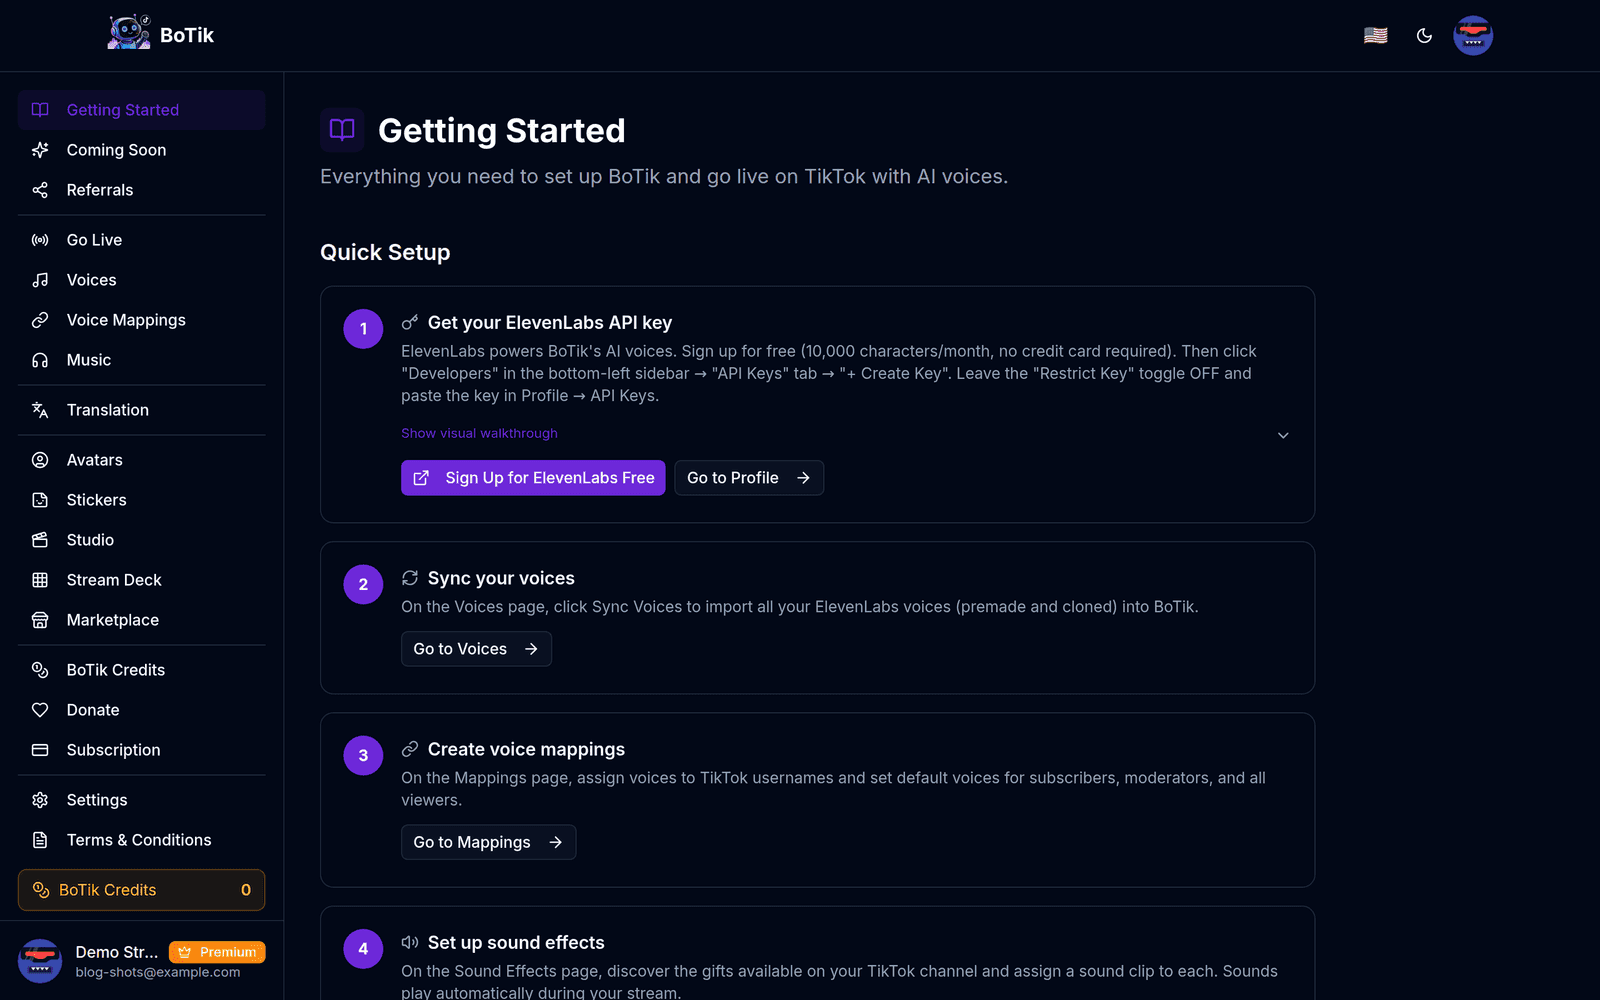
The Getting Started page walks the same three steps with your own account. Start your TikTok Live, then press Go Live in BoTik.
The order matters — BoTik connects to a live that is already running.
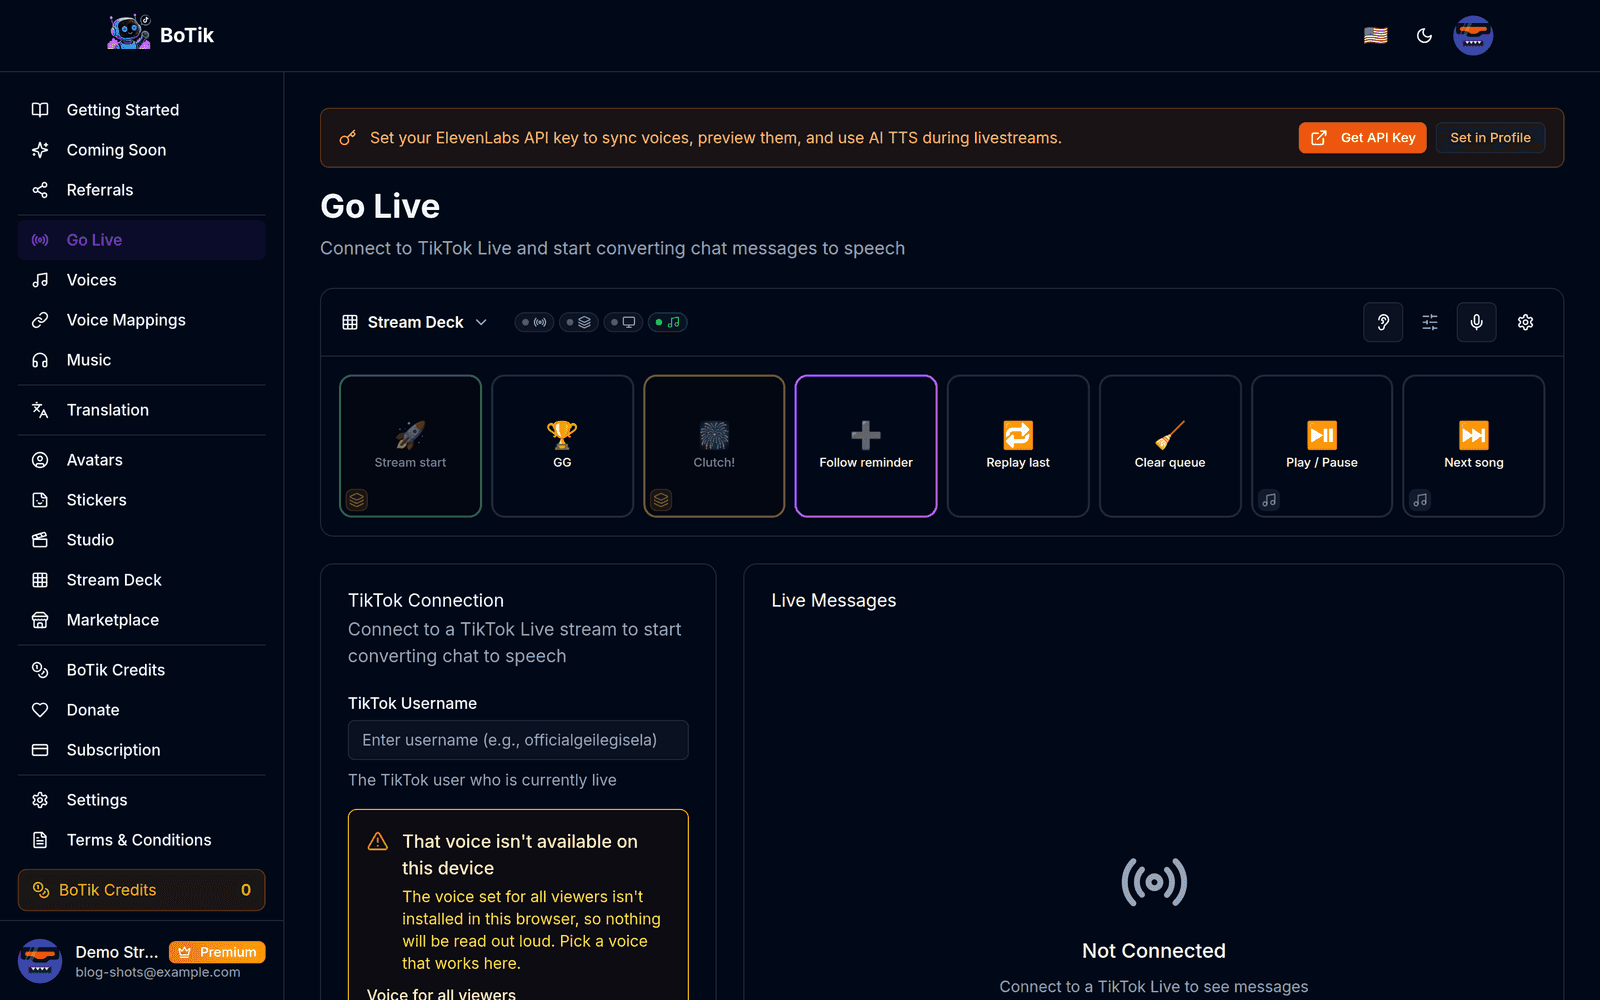
Send a test comment from a second device and confirm you hear it.
Hearing nothing?
The usual cause is browser autoplay policy. Click anywhere on the BoTik tab once to give the page permission to produce sound — browsers block audio until a page has been interacted with.
Give your regulars their own voice
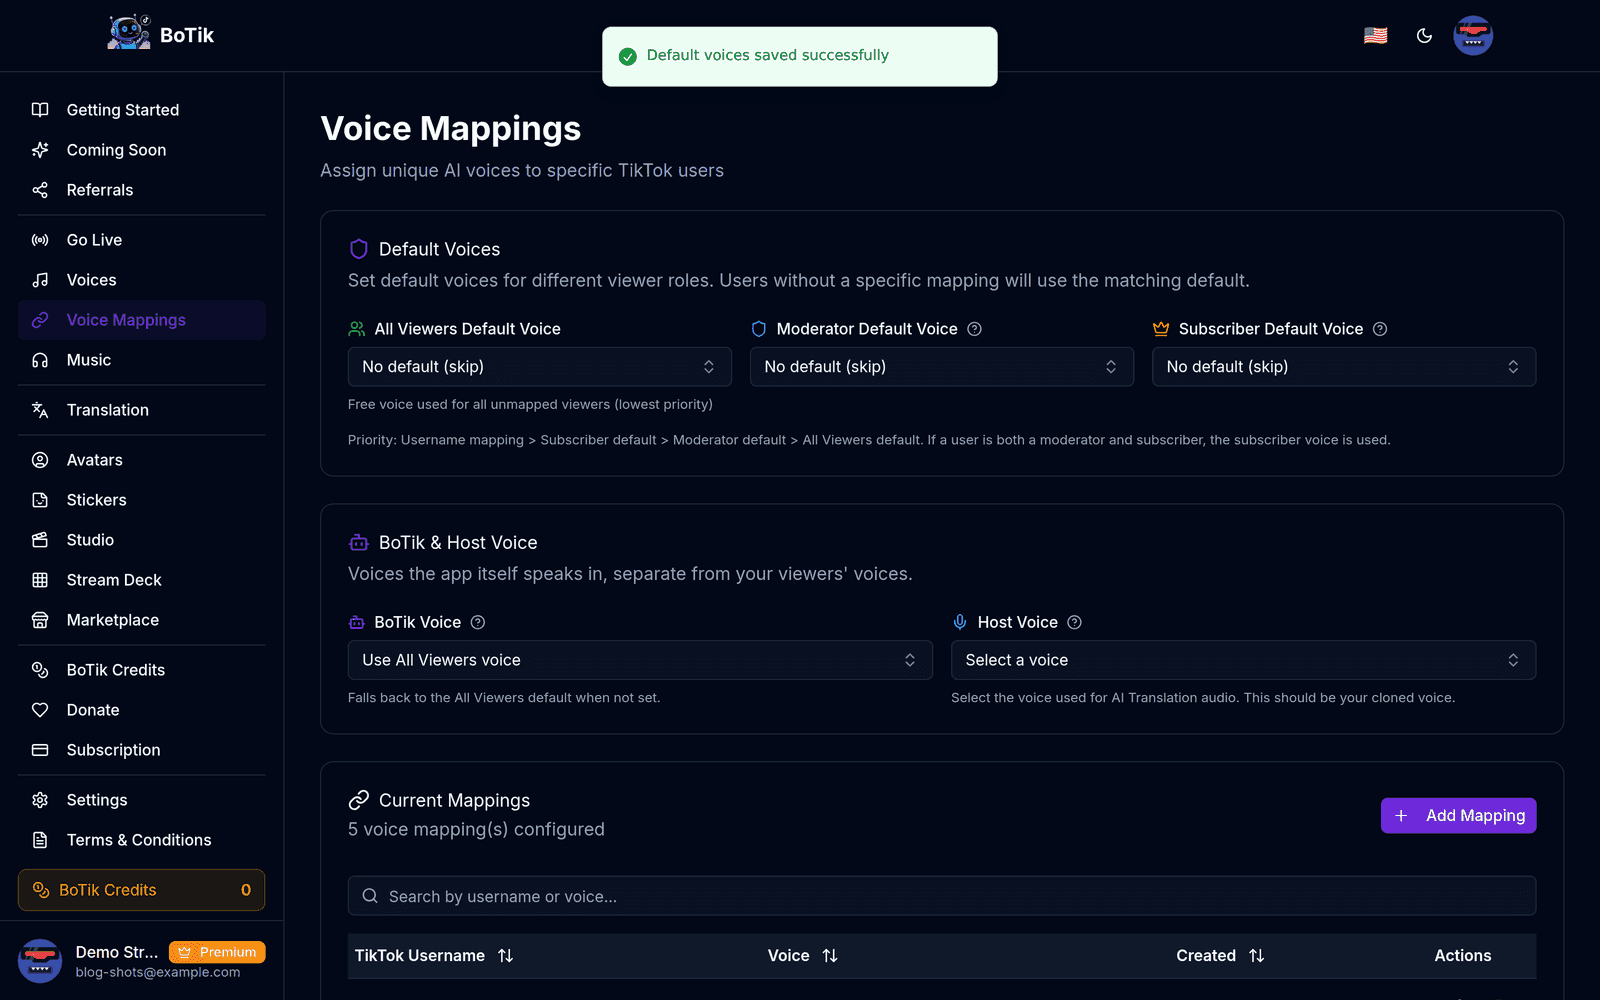
The feature that actually changes how a stream feels is per-viewer voice mapping. Assign a specific voice to a specific username and that person sounds the same every time they comment. Regulars start to recognise each other by voice, and so do you — you can tell who is talking without reading the name.
How BoTik picks a voice — first match wins
Username mapping
Subscriber default
Moderator default
All-viewers default
Settings worth changing on day one
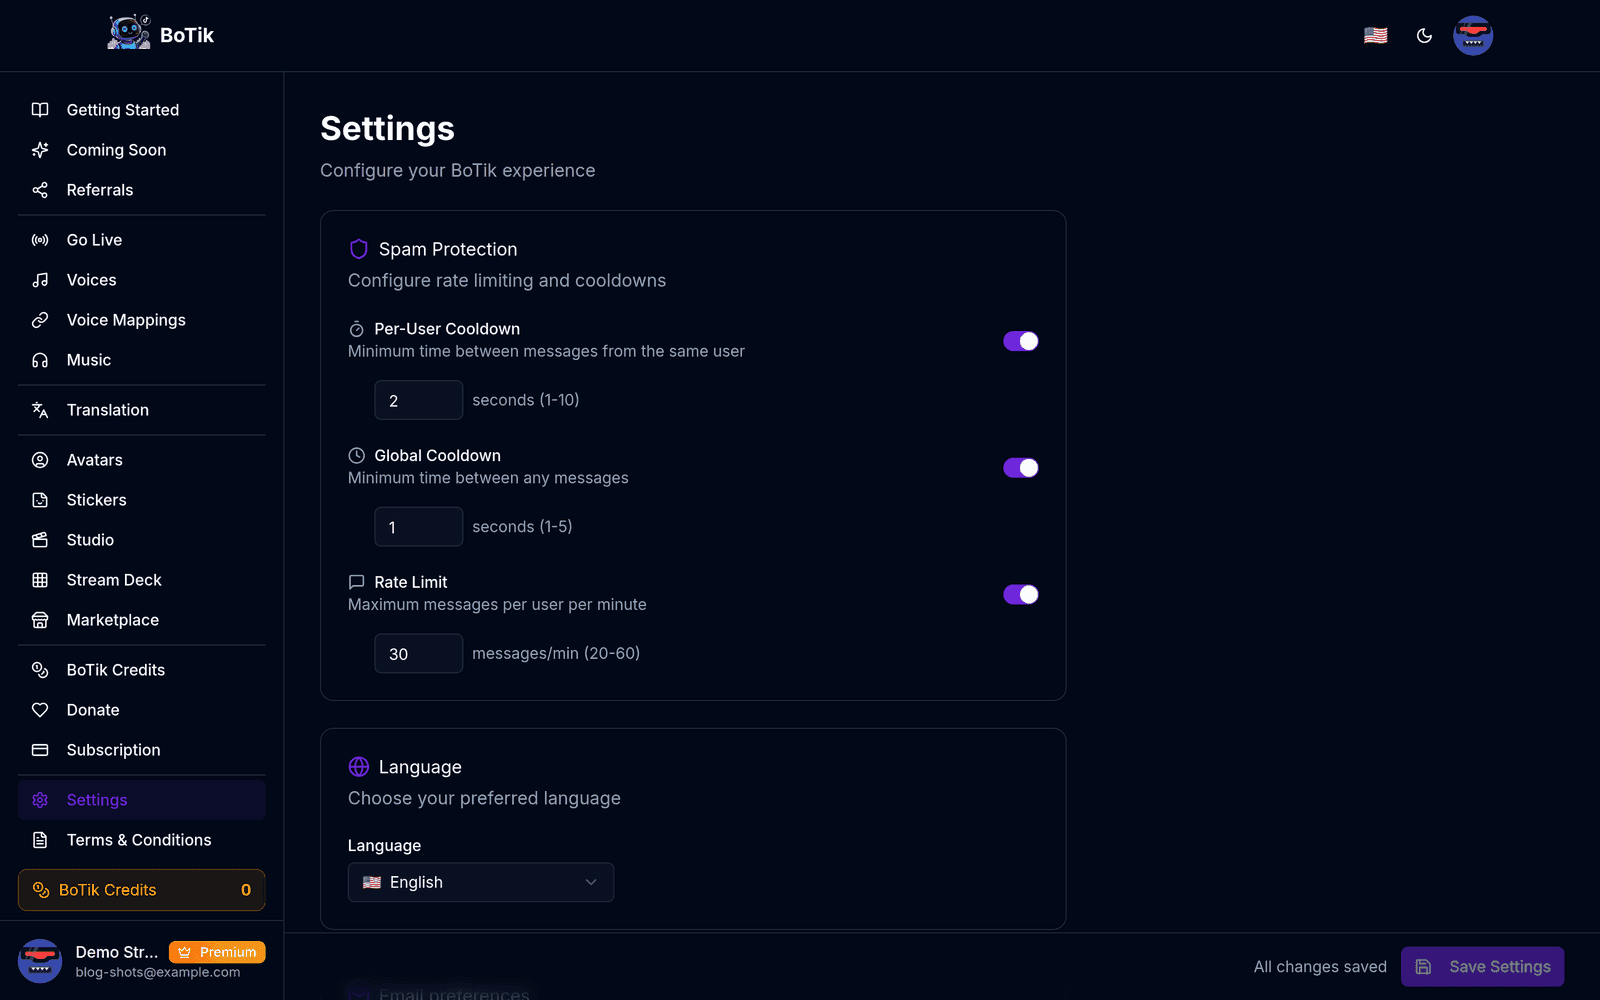
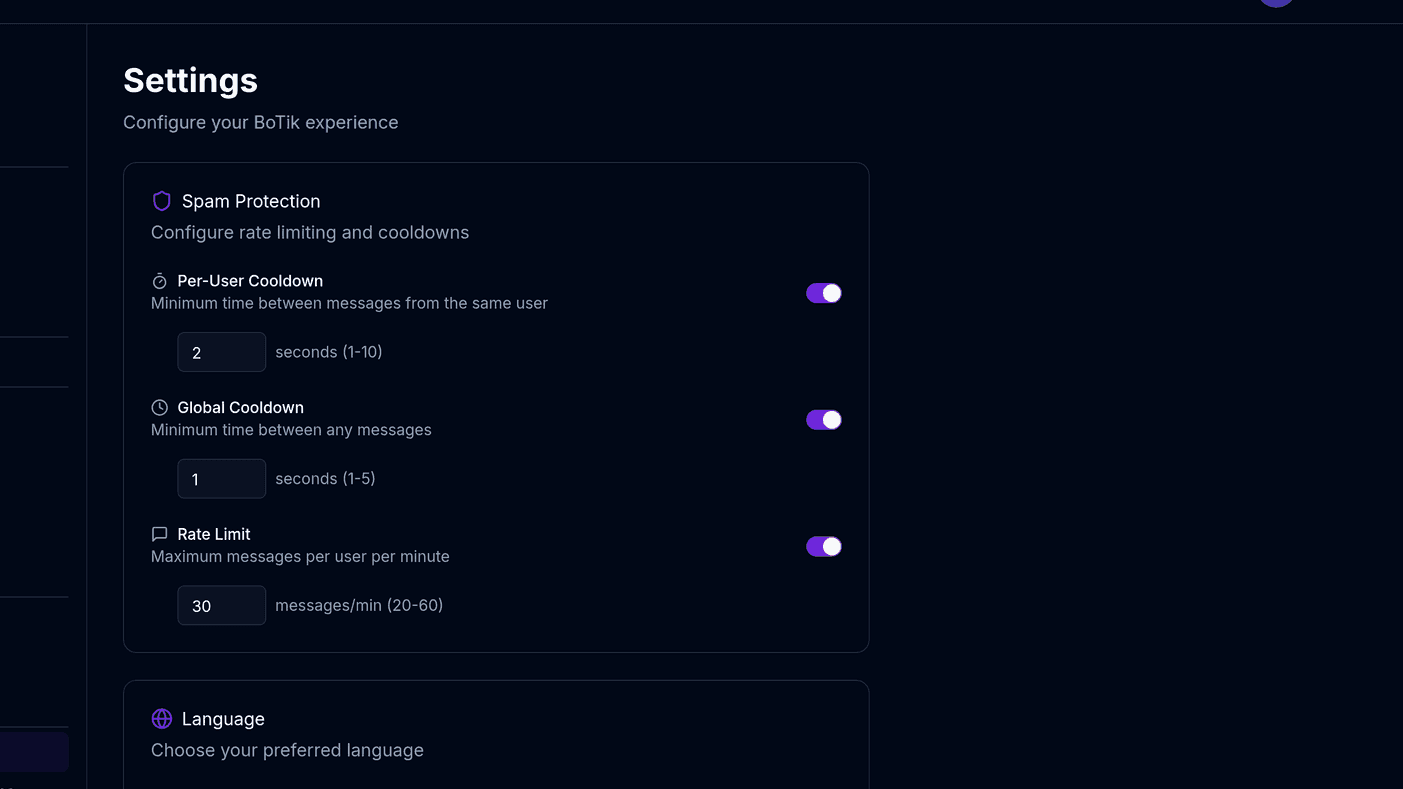
- Per-user cooldown — a minimum gap between messages from the same viewer. Stops one person monopolising the audio queue.
- Global rate limit — caps total messages per minute, so a sudden raid does not become an unlistenable wall of speech.
- Message length limit — long messages are where TTS stops being useful and starts being tedious.
- Filtered words — anything you never want spoken aloud on your stream.
There is a lot more to say about that last group; keeping text-to-speech spam-free covers the moderation side properly, including what to do mid-raid.
What Premium adds once TTS is part of your show
Free voices get chat talking. Premium is what turns that into something viewers remember and come back for:
- Voice cloning — chat gets read in your own voice, so the stream still sounds like you while you are mid-sentence.
- Live translation — a comment in Spanish or Arabic is translated and read aloud, which is what makes an international audience feel included rather than ignored.
- AI avatars and sticker packs — generated art for your overlays and channel, without commissioning it.
- Gift sound effects — a distinct reaction for each TikTok gift, so supporters get an instant payoff.
- Overlays and the Stream Deck — the parts of the stream viewers see and you control with one tap.
Premium is $9.99/month with a 7-day free trial that does not ask for a card. The honest way to evaluate it is to turn it on during a stream you were going to do anyway and watch what chat does when it hears its own language, or your voice, coming back at it.