How to connect OBS to BoTik
Two ways to link OBS and BoTik: browser sources for overlays, and the optional WebSocket connection that lets you switch scenes from your Stream Deck.
 BoTik Team3 min read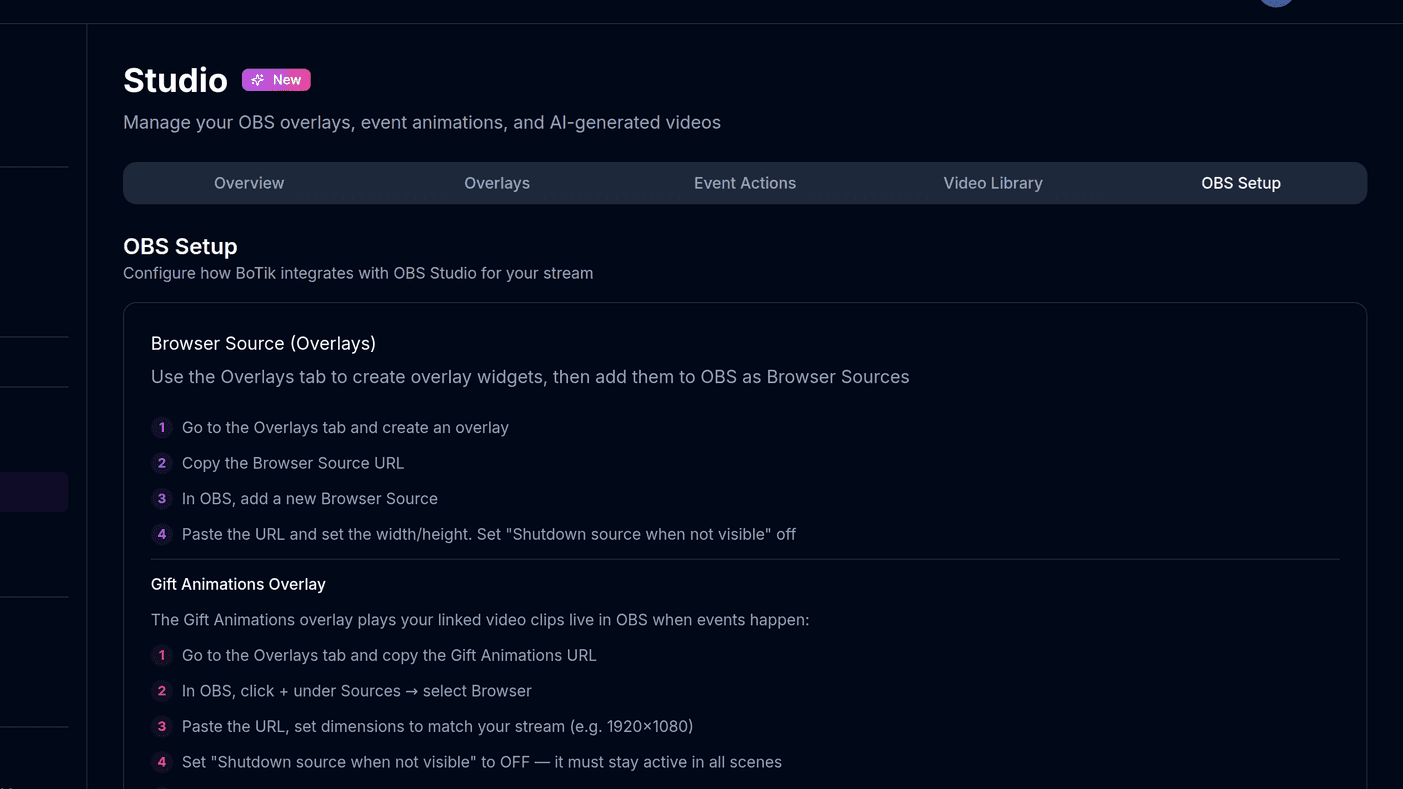
There are two separate connections between OBS and BoTik, and confusing them is the reason most setup guides go wrong. One puts BoTik on your stream. The other lets BoTik control OBS. You need the first. The second is optional.
Two connections, two jobs
BoTik
open in your browser
Browser Source
overlays appear on stream — required
OBS WebSocket
BoTik switches scenes — optional
1. Browser sources — putting BoTik on screen
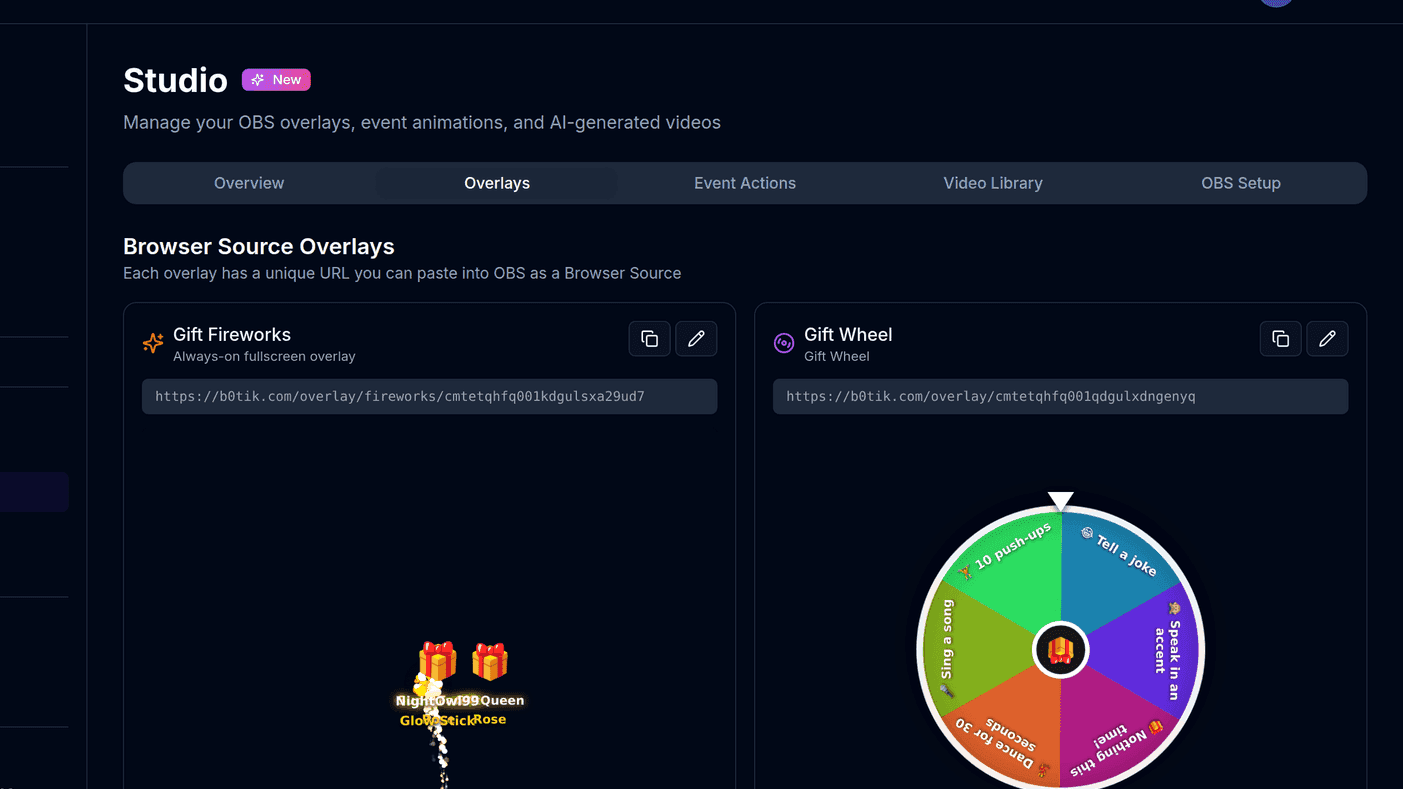
This is how overlays reach your stream. Each overlay in BoTik has a URL; OBS renders that URL as a layer in your scene.
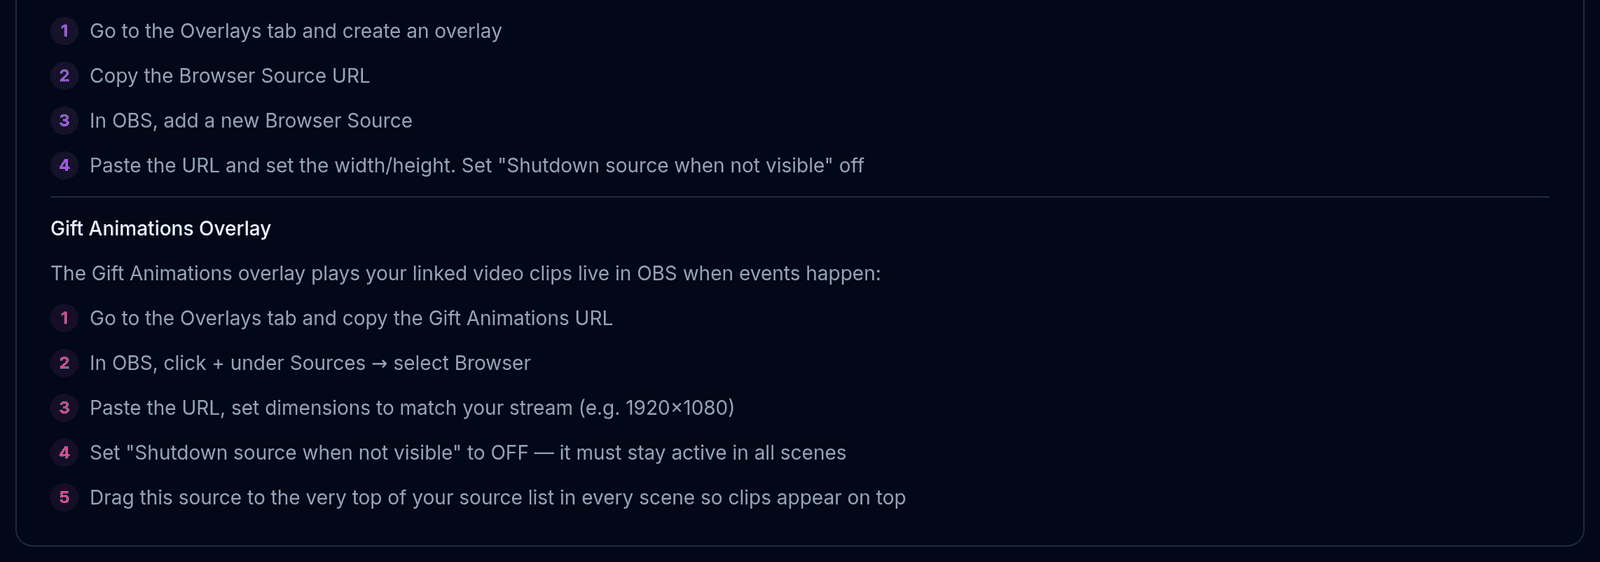
Open BoTik → Studio → Overlays and copy an overlay URL.
In OBS, click + under Sources and choose Browser.
Paste the URL and set the width and height the overlay card recommends.
Uncheck “Shutdown source when not visible”.
Otherwise OBS destroys the page on every scene change and the overlay reconnects from scratch — leaderboards reset, timers restart.
Note
A browser source needs no password, no plugin and no OBS version newer than about 2017. If all you want is overlays, you are finished here — the rest of this guide is optional.
2. OBS WebSocket — letting BoTik control OBS
The WebSocket connection is what makes a Stream Deck button able to switch your scene or hide a source. OBS has had a WebSocket server built in since version 28 — there is no plugin to install.

localhost and port 4455. The password is optional and stays on your machine.In OBS, open Tools → WebSocket Server Settings
Tick Enable WebSocket server. Note the port (4455 by default) and, if you set one, the password.
In BoTik, open Studio → OBS Setup
Fill in Host, Port and Password to match, then press Connect. The badge changes to Connected.
Check the Scene Switcher appeared
Once connected, a Scene Switcher and a Sources list show up below the form. If you can switch scenes from there, the link works.
This connection never leaves your computer
Your browser talks to OBS directly on localhost:4455. The password is encrypted into your browser’s local storage and is never sent to BoTik’s servers — which is also why you have to set it up again on a different machine.
When it will not connect
| Symptom | Usual cause |
|---|---|
| Connection Error immediately | The WebSocket server is not enabled in OBS, or OBS is not running. |
| Connects, then drops | A second app is already holding the WebSocket session. Close the other controller. |
| Wrong password | OBS shows the password under Tools → WebSocket Server Settings → Show Connect Info. |
| Works at home, not on stream PC | The connection is per-browser and per-machine. Set it up again there. |
| Overlays fine, WebSocket dead | These are independent. Overlays do not need WebSocket at all. |
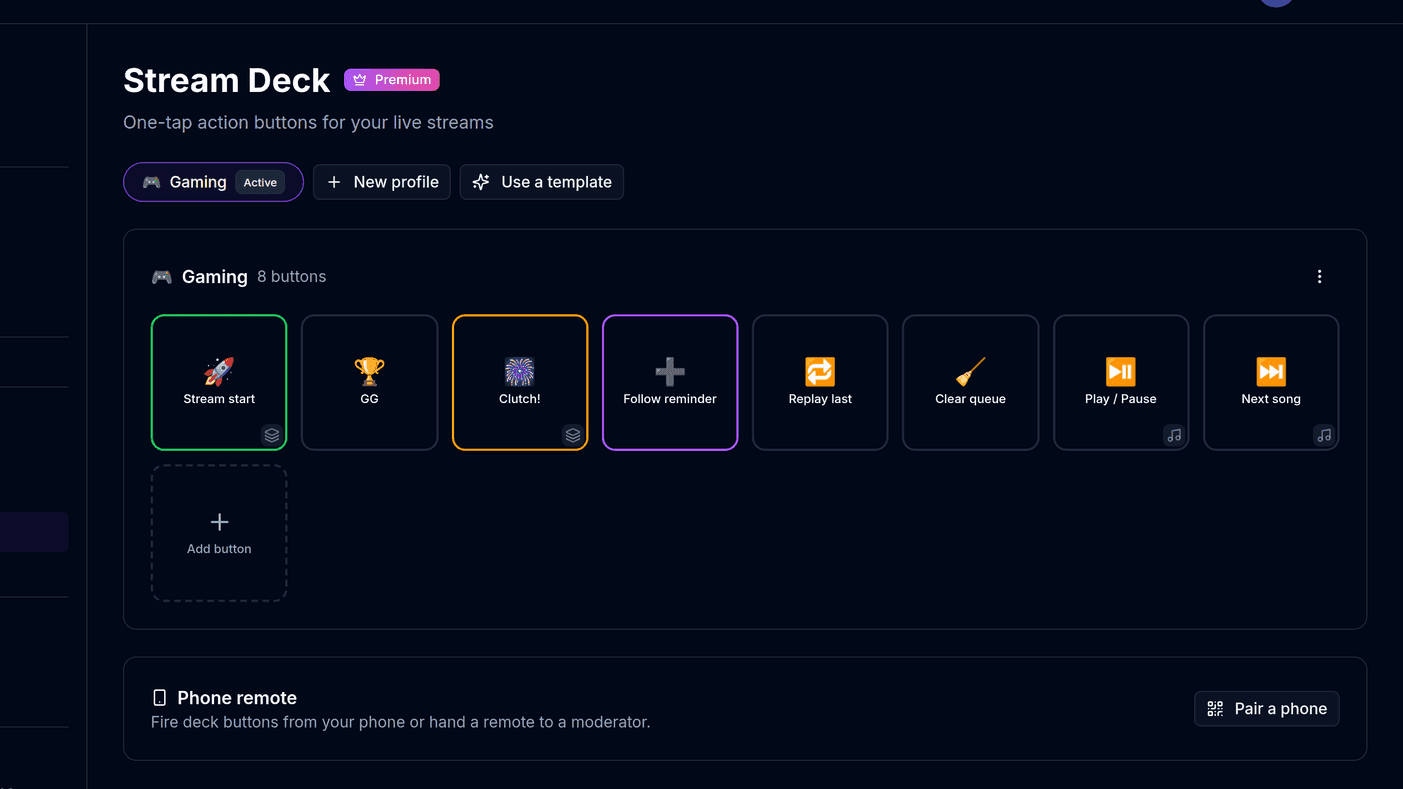
With OBS connected, the payoff is in the Stream Deck: buttons that switch scenes, toggle sources and fire overlay effects without alt-tabbing. If you have not added any overlays yet, start with the overlay guide.